
Last updated November 16, 2026
 Architectural shingles
 Metal roofing
 Tile roofing
 GAF
 Owens Corning
 Flat & low-slope
Free roof inspection with deck photos before we talk money - GAF and Owens Corning certified installation
Roof Repair Troubleshooting in Albany: Common Problems and How to Fix Them
Here’s a fact that surprises most homeowners: the wet spot on your ceiling is almost never sitting directly under the hole in your roof. A stain six feet in from the exterior wall usually points to a problem at the ridge, a valley, or a chimney chase – not the shingles right above your living room. Water enters high, travels along sheathing and rafters, then drops wherever it finds a seam. That single misunderstanding drives more wasted money than any other roofing mistake we see in Albany. This guide teaches you to read symptoms backward to their true causes, so you can troubleshoot with confidence and know exactly when to call for help.
Quick Answer
To troubleshoot a roof problem in Albany, start at the stain and work backward through the attic in daylight to find the entry point. The five most common failures here are ice dam uplift at the eaves, valley flashing corrosion, chimney counter-flashing separation, pipe boot cracking, and ridge cap blow-off. Fix the source, not the stain. When you’re unsure, a professional inspection settles it before you spend money on the wrong repair.
Styles & brands we work with
- Architectural shingles
- Metal roofing
- Tile roofing
- GAF
- Owens Corning
- Flat & low-slope
Table of Contents
- Why a Ceiling Stain Rarely Sits Under the Leak
- How to Trace a Water Entry Point From Interior Staining
- The Five Most Common Albany Roof Failure Points
- Wet Attic in March vs. Wet Attic in July: Seasonal Diagnosis
- Safe DIY Triage vs. Steps That Make Repairs Harder
- How to Document Roof Damage for an Insurance Claim
- Repair or Replace? How to Decide
- Common Mistakes to Avoid
Why a Ceiling Stain Rarely Sits Under the Leak
Water on a roof deck behaves like water on a tilted table with a paper towel on it. It follows the slope, clings to the underside of sheathing, and creeps sideways along framing until something makes it drop – a nail, a joint, a low spot in the drywall. By the time it reaches your ceiling, it can be ten or fifteen feet from where it got in. That’s why pointing at the shingles above a stain is one of the least reliable diagnostic moves there is.
Albany’s housing stock makes this worse. Older homes in neighborhoods like Pine Hills and Center Square often have complex rooflines – dormers, valleys, multiple gables, and additions stacked over decades. Every one of those transitions is a place where water can enter and then travel a long distance before showing itself. Steep pitch adds its own wrinkle: on a steeper roof, water moves faster and farther before it finds a path through.
Here’s what this means practically. When you see a stain, resist the urge to climb up and stare at the spot directly above it. Instead, treat the stain as the end of a trail and look for the beginning. In our experience, roughly half of the “obvious” leak locations homeowners point out turn out to be innocent, while the actual entry sits somewhere higher and to one side.
If you’ve already tried to trace a leak and come up empty, that’s normal. It’s one of the reasons we offer a roof inspection as a standalone service – you get an accurate diagnosis before committing to any repair.
How to Trace a Water Entry Point From Interior Staining
You can do a surprising amount of useful detective work from inside, with no ladder and no risk. The key is daylight. Interior leaks are easiest to see when the sun is on the roof, because light pushing through a gap will show as a bright spot or a wet sheen that a flashlight misses. Work through these steps methodically:
- Mark the stain. Take a photo and note its position relative to walls, windows, and ceiling joists. Measure how far it sits from the nearest exterior wall.
- Get into the attic during daylight. Bring a flashlight anyway, but let natural light guide you first. Look uphill from the stain, along the rafters and sheathing.
- Follow the framing, not the straight line. Water travels along wood. Trace the rafters and sheathing back toward the ridge, vents, or valleys rather than walking straight up from the stain.
- Look for water trails and staining. Dark streaks on sheathing, rusted nails, or a faint watermark that runs uphill from your stain are all clues to direction of travel.
- Check the obvious penetrations. Chimneys, plumbing vents, skylights, and where the roof meets a wall are the most common entry points. Look for gaps, lifted flashings, or cracked boots.
- Note active drips or dampness. If the roof is currently wet, you may catch water in the act. A dry day with no drip doesn’t clear the roof – it just means the water took the slow path.
- Photograph everything. You’ll want these images whether you repair now or file a claim later.
This is diagnostic work only. Once you’ve located a likely entry point, stop there. Repairs at height are a different job entirely, and that’s where a specialist should take over. If your attic inspection turns up more than one suspect, bring in an expert rather than guessing – that’s the case for roof repair done right the first time.
The Five Most Common Albany Roof Failure Points
Albany’s freeze-thaw cycles, driving rain, and snow load stress a roof in specific ways. These five failure points account for the majority of the trouble we see across the city, and each has its own telltale signs.
1. Ice Dam Uplift at the Eaves
When snow melts on the upper roof and refreezes at the cold eaves, a ridge of ice forms and backs water up under the shingles. That’s ice dam uplift, and it’s the classic Albany winter leak. Signs include icicles that hang to the gutters and staining at the interior ceiling near the exterior wall. Poor attic ventilation and warm air escaping into the attic make it worse. The long-term fix is better insulation and venting, alongside a repair to the shingle courses that took the damage.
2. Valley Flashing Corrosion
Valleys – the V-shaped channels where two roof planes meet – carry more water than anywhere else on the roof. Over time, the metal flashing in a valley corrodes or lifts, and water finds its way under. Look for rust streaks, debris buildup, or a leak that appears near a valley during heavy rain. On older Albany homes this is a common source of persistent, hard-to-trace leaks.
3. Chimney Counter-Flashing Separation
Counter-flashing is the metal that seals the gap where the roof meets the chimney. It’s a two-part system, and separation between the parts is one of the most common leak sources on masonry chimneys. The leak often shows up on the ceiling well away from the chimney itself, which is exactly why homeowners misdiagnose it. Check for gaps, loose metal, or crumbling sealant at the chimney base.
4. Pipe Boot Cracking From UV and Freeze Cycles
The rubber collar around a plumbing vent pipe – the boot – takes a beating. UV degrades the rubber, and Albany’s freeze-thaw cycles crack it. Once it fails, water runs straight down the pipe into the attic. These are cheap, common, and easy to overlook. Inspect every boot on the roof for splits or a collar that has pulled loose.
5. Ridge Cap Blow-Off
The ridge cap is the shingle layer covering the very top of the roof, and it catches the most wind. When it lifts or blows off, water gets in at the highest point and travels a long way before showing up inside. After a windy storm, check the ridge line for missing or lifted caps. Repairs here should use a cap rated for the wind exposure, which is one reason material matters.
We work with seven major manufacturers, including GAF and Atlas, so repairs and replacements get matched to the specific failure and your roof – not a single brand we happen to favor.
Wet Attic in March vs. Wet Attic in July: Seasonal Diagnosis
The same wet attic tells two different stories depending on the month, and reading the season right changes the repair entirely. In March, moisture in the attic is almost always tied to winter conditions – snow, ice, and warm air meeting cold surfaces. In July, the same symptom usually points to a rain-originated leak or a ventilation problem in the heat. Diagnose the season first, then the cause.
A wet attic in March most commonly means one of these:
- Ice dam backup. Snowmelt refreezing at the eaves pushes water under shingles. Look for staining near the exterior wall and ice in the gutters.
- Condensation. Warm, moist air from the house hits cold sheathing and condenses. That’s a ventilation or insulation issue, not a shingle failure.
- Frozen-then-thawed sealant. A flashing joint that held all fall can open when the freeze-thaw cycles pull it apart.
A wet attic in July usually means:
- An active rain leak. The classic path – flashing, valleys, or boots – carrying summer stormwater inside.
- Poor ventilation. A hot, humid attic that can’t breathe condenses moisture against the roof deck.
- Wind-driven rain entry. Windy storms push water where a slow rain never would, exposing gaps in the uphill flashings.
This seasonal split is core to good troubleshooting. A March condensation problem isn’t fixed with new shingles, and a July leak isn’t fixed with more ventilation. For Albany homeowners, both conditions are routine, and getting the diagnosis right saves you from paying for the wrong repair.
Safe DIY Triage vs. Steps That Make Repairs Harder
Some homeowner checks are genuinely useful, and some actively cost you money by obscuring the real problem or creating new damage. The line between the two usually comes down to whether you’re observing or altering. Observation is safe and smart. Altering is where things go wrong.
Safe and useful
- Photograph interior stains and measure their position.
- Look in the attic in daylight, along the framing uphill from a stain.
- Check the exterior at ground level with binoculars for missing shingles, lifted flashing, or damaged boots.
- Note when leaks appear – after rain, during melt, after wind – to narrow the cause.
- Clear roof gutters from the ground with the right tools, if it’s safe to do so.
Steps that make professional repairs harder or more expensive
- Walking on a snow- or ice-covered roof. This is dangerous and can crack already-compromised shingles.
- Patching with caulk or sealant over a leak you haven’t diagnosed. You seal the symptom and hide the trail the pro needs.
- Pulling up shingles to “see what’s underneath.” You can break the sealant strip and create a new leak path.
- Ignoring attic moisture thinking it’s “just condensation.” Left alone, it rots decking and framing.
- Climbing a ladder you’re not trained to use on a wet or sloped surface. Fall risk is real and preventable.
If a repair is above your comfort or safety line, that’s not a failure. Roofs are the first line of defense for everything underneath them, and they deserve a specialist. When in doubt, call in a pro.
How to Document Roof Damage for an Insurance Claim
If your damage may be covered by insurance, document it carefully before anyone touches the roof. Once a repair starts, the evidence adjusters rely on is gone, and claims get harder to win. The order matters: photograph, record, then repair. Work through these steps:
- Photograph everything from multiple angles. Interior stains, attic trail, and the exterior cause – with a date stamp if your camera allows.
- Capture wide and close shots. Wide shots show context. Close shots show detail. Both matter to an adjuster.
- Note the date and weather. Record when you first noticed the damage and the recent storm history. Exact timing supports the “sudden event” story adjusters look for.
- Keep a written log. Dates, what you saw, and what you did – a simple notebook or phone note is fine.
- Don’t repair before inspection. If you patch or replace before an adjuster sees it, you may forfeit coverage for the original damage.
- Get a professional inspection report. A documented assessment is stronger evidence than a homeowner’s photos alone.
Most policies distinguish between storm damage and normal wear, and the documentation you gather is what proves the difference. We can work with your insurer and provide the inspection you need to support a claim.
Repair or Replace? How to Decide
One of the biggest decisions in roof troubleshooting is whether the problem calls for a repair or a full replacement. The honest answer depends on the type of damage, the age and condition of the whole roof, and how many separate problems you’re facing. A single failed pipe boot or a small patch of lifted flashing is a repair. Widespread shingle failure, chronic leaks in multiple locations, or an aging roof with several compounding problems usually points toward replacement.
Here’s how we think about it:
- Repair when the damage is localized, the rest of the roof is sound, and the failure has a clear, single cause.
- Replace when the roof is generally at the end of its service life, has widespread damage, or when repeated repairs start adding up to replacement money.
- Get an inspection first when you’re not sure – the inspection tells you the true condition, not a guess.
Because we work with seven major manufacturers – GAF, CertainTeed, Owens Corning, IKO, Atlas, Tamko, and Boral – our roof replacement recommendations can match your budget and roof rather than a single product line. Repair when the roof warrants it. Replace when it doesn’t.
Common Mistakes to Avoid
- Assuming the stain sits under the leak. Water travels along framing before it drops. Trace it backward from the stain before you commit to any repair.
- Going up on a snow-covered or icy roof. Albany winters make this genuinely dangerous. Diagnose from the attic and ground, and leave the roof walk to a trained technician.
- Caulking over a problem you haven’t diagnosed. Sealant hides the trail a professional needs. In our experience, this is the most common reason a “cheap fix” turns into an expensive one.
- Treating a March wet attic as a rain leak. Winter moisture is usually ice dams or condensation. Fixing the wrong cause leaves the problem in place.
- Repairing before documenting for insurance. Once the evidence is gone, a claim gets harder. Photograph and log first, repair second.
- Hiring a generalist for a roof problem. Roofing is its own trade. A contractor who does roofs as a side job will miss the subtler failure points that Albany’s climate exposes.
- Skipping the inspection on a pre-purchase. If you’re buying an Albany home, get a standalone roof inspection – it’s the fastest way to know what you’re actually inheriting.
When to Call a Professional
Some roof problems are safe to investigate yourself, and some need a trained eye and a safe access plan. Call a professional when you can’t trace a leak from the attic, when the damage involves flashing, valleys, or the ridge, when you see sagging or widespread shingle failure, or when a repair needs you on the roof at height. Also call if you’re unsure – an expert diagnosis beats a guess every time. Jasper Roof Repair offers free estimates in Albany – call (855) 473-7282. We answer 24/7. Fast dispatch from 7am to 7pm, Sunday through Friday.
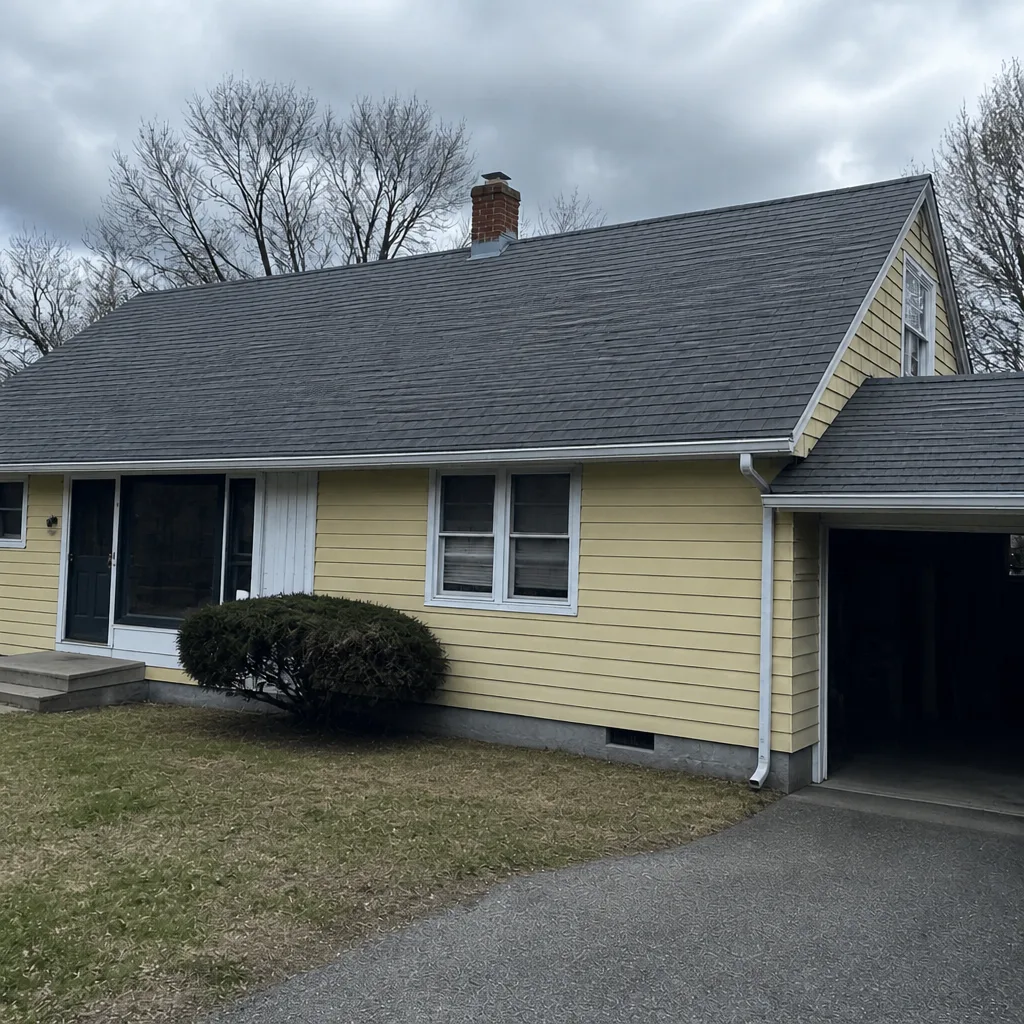
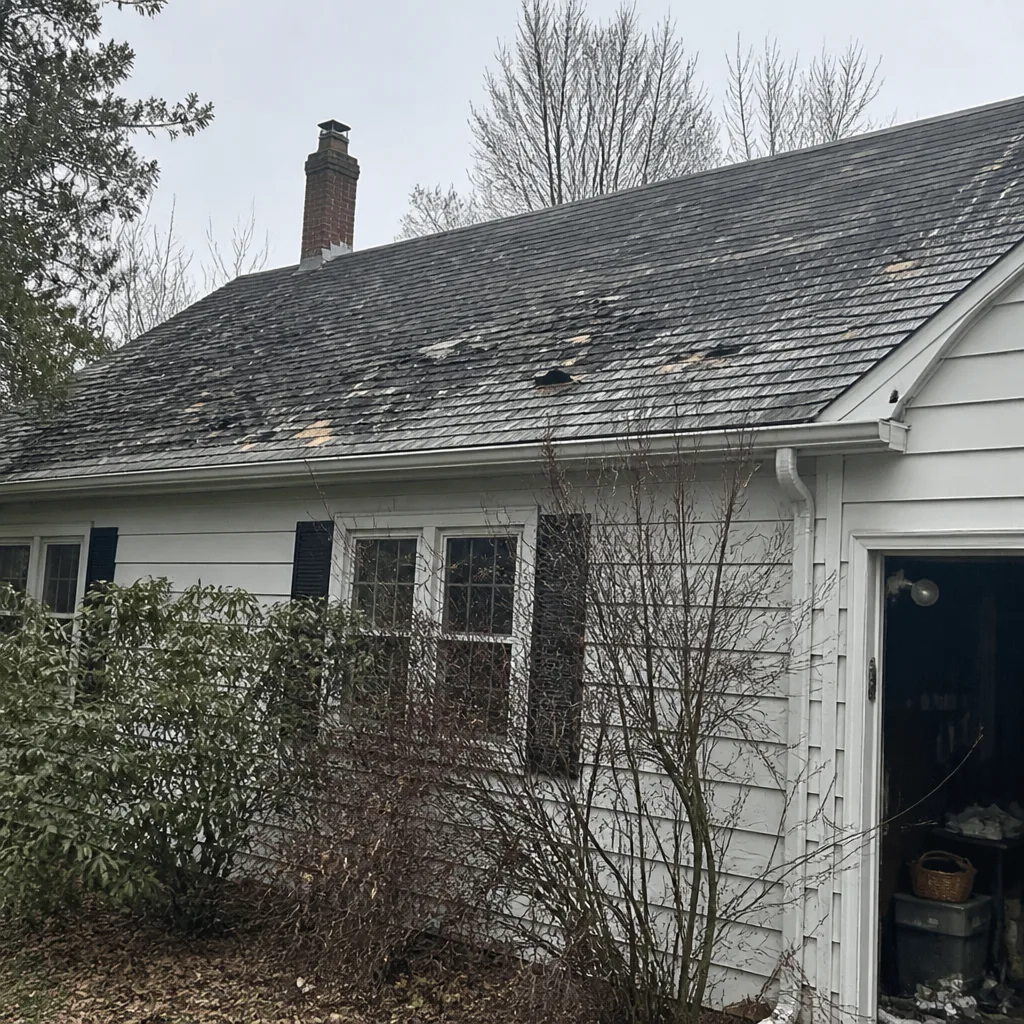
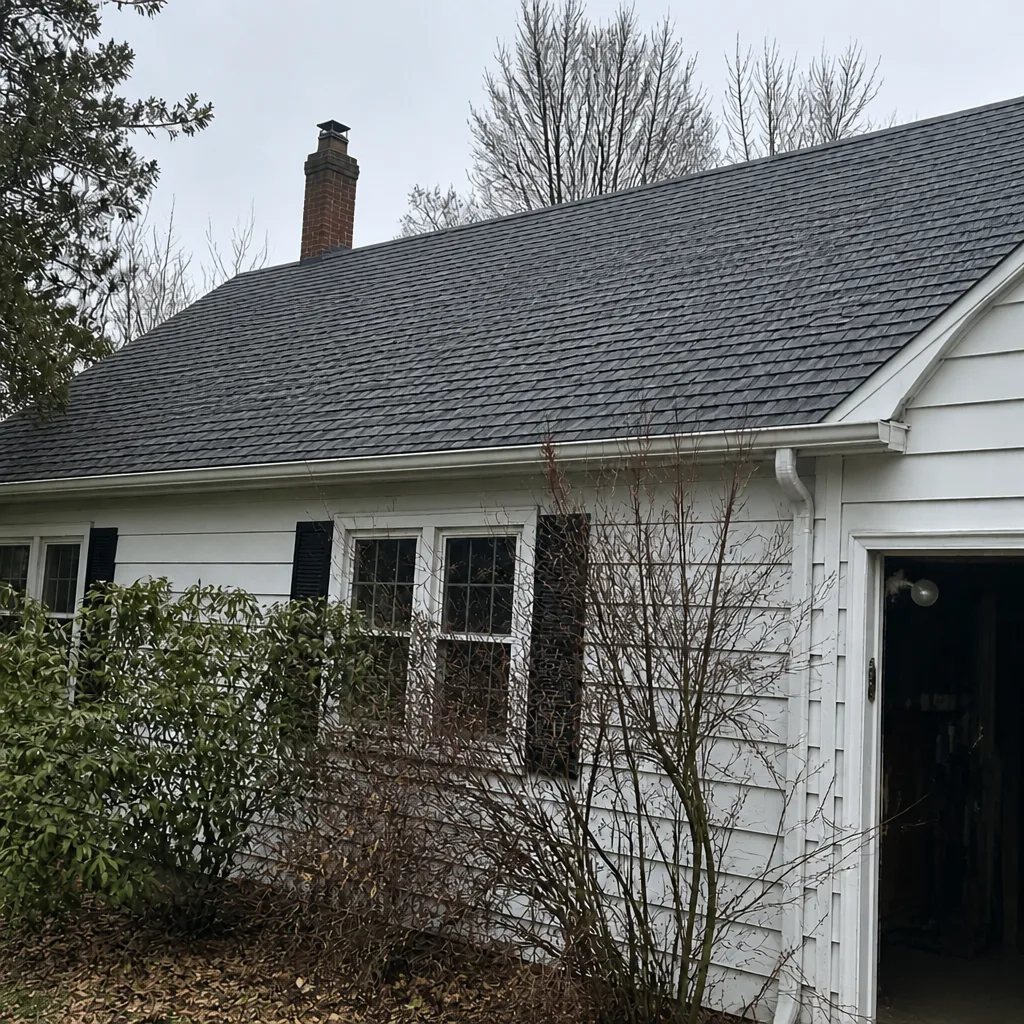
See the difference
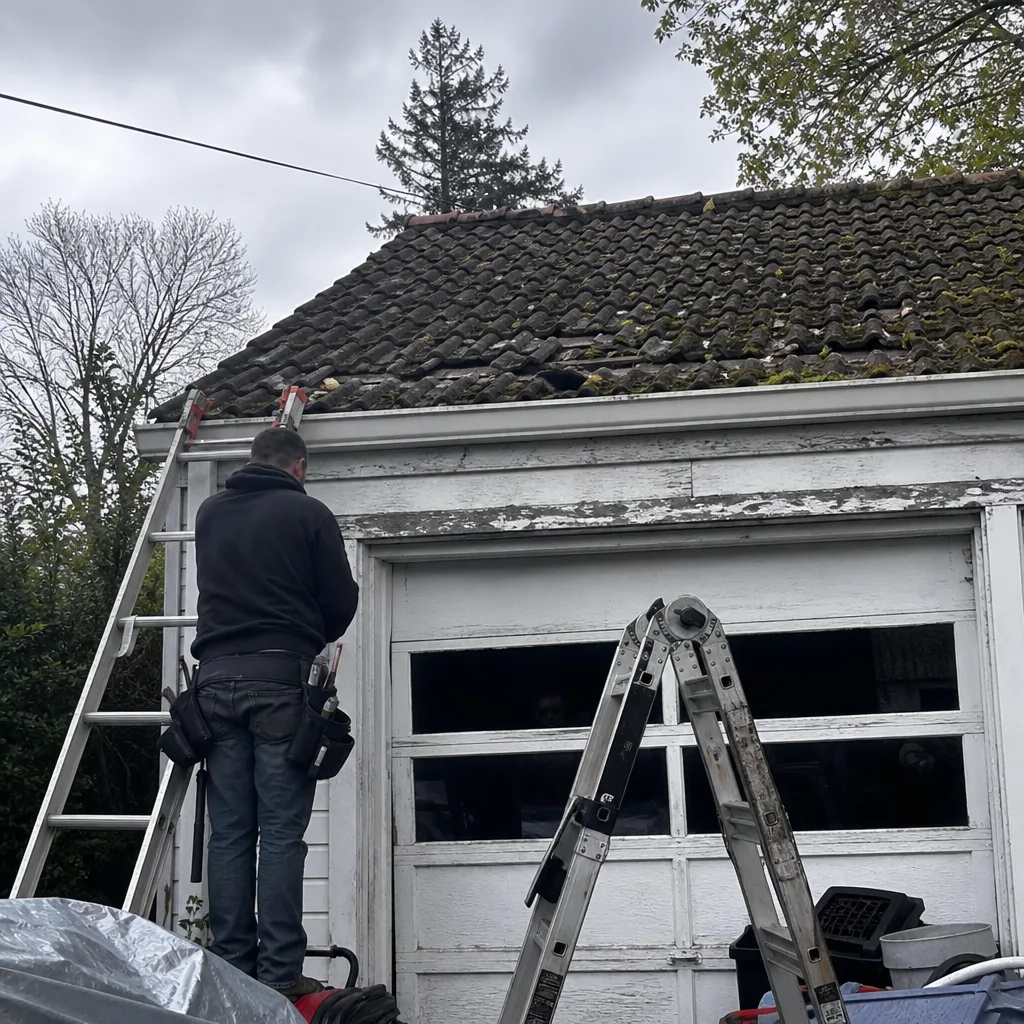 Before
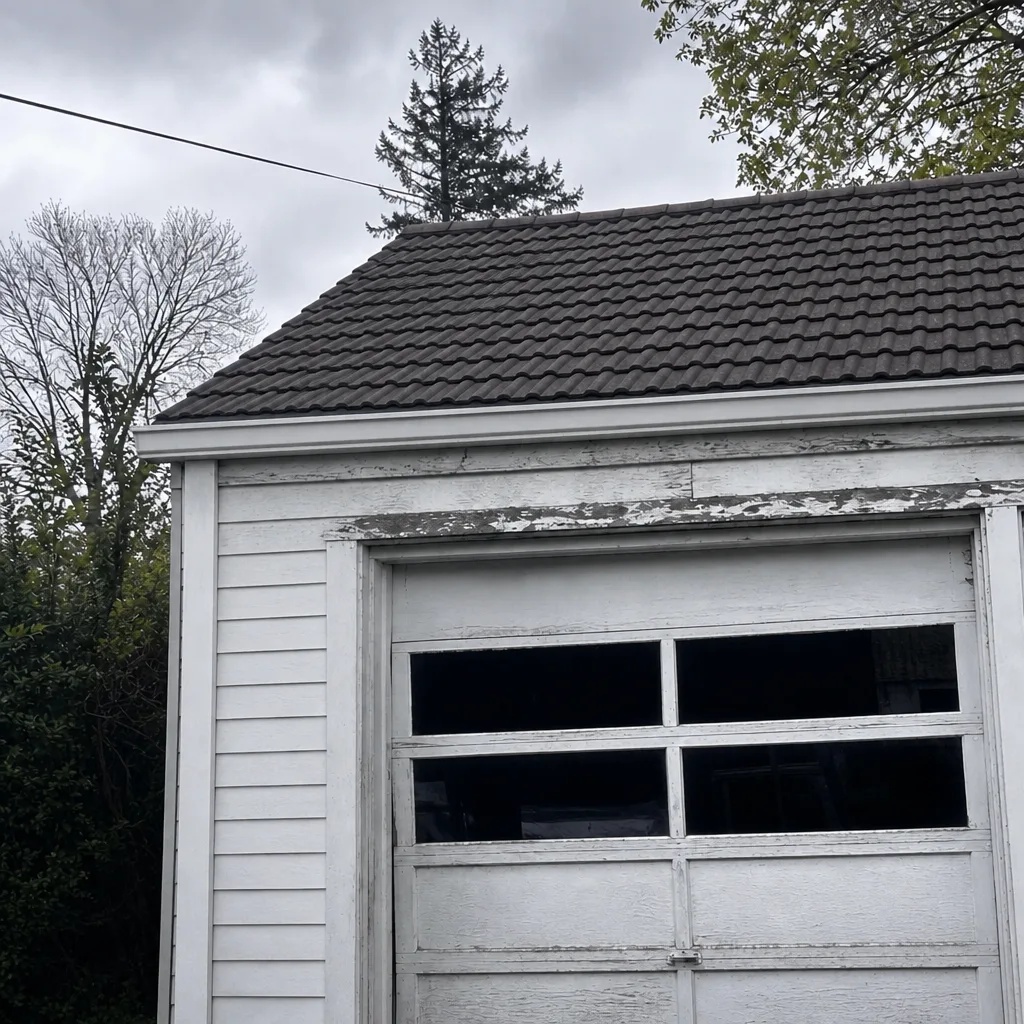 After
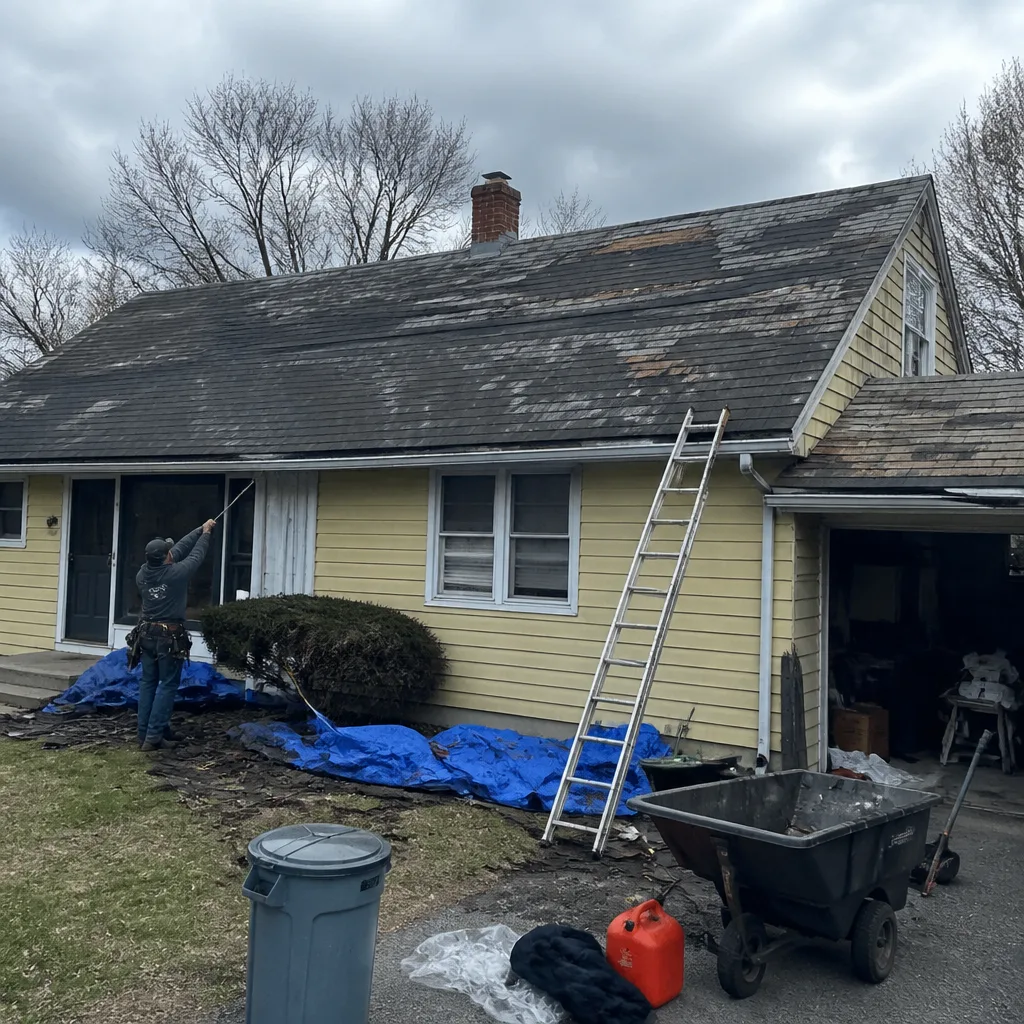 Before
 After
 Before
 After
Frequently Asked Questions
Because water rarely drops straight down. It travels along sheathing, rafters, and framing before it finds a way through. A leak above a ceiling stain is often ten feet or more from where the water actually entered. Trace it backward from the stain through the attic.
Ice dam uplift at the eaves is the most common winter cause, and valley flashing corrosion, chimney counter-flashing separation, pipe boot cracking, and ridge cap blow-off round out the top five. The season tells you which is most likely: winter points to ice and condensation, summer points to rain entry.
It’s usually one of the two, and the fix is different for each. Ice dam backup and condensation both show up as attic moisture in early spring. Look for staining near the exterior wall (ice dam) versus widespread dampness on the cold sheathing (condensation). An inspection separates them quickly.
For a small, clearly understood problem you might manage a temporary patch, but if you haven’t diagnosed the source, patching hides the trail the pro needs and often creates a new problem. Flashing and valley repairs should be left to a trained roofer.
Repair when the damage is localized and the rest of the roof is sound. Replace when the roof is at the end of its life or has widespread, recurring problems. A professional inspection tells you which you’re facing. Call (855) 473-7282 for a free estimate.
Photograph everything – the interior stain, the attic trail, and the exterior cause – before any repair. Keep a dated log, and don’t repair before an adjuster inspects. A documented professional inspection strengthens the claim. For residents of Albany, we can work with your insurer and provide that inspection.
If you’re not sure where to start with your own roof, our team at Jasper Roof Repair is here to help – and our Albany specialists handle both the diagnosis and the repair.
The Bottom Line
Troubleshooting a roof in Albany comes down to one idea: visible symptoms rarely appear under the actual damage. Read the season, trace the trail backward from the stain, and target the five common failure points – ice dams, valley flashing, chimney counter-flashing, pipe boots, and ridge caps. Handle the safe checks yourself, document everything before any repair, and bring in a specialist when the work involves height, flashing, or uncertainty. Roofs protect everything underneath them, and a focused, inspection-first approach beats a guess – every time.
Contact Us
Whatever your roof is doing, the fastest way to stop guessing is a professional inspection. Jasper Roof Repair works on roofs and only roofs, and we start with a diagnosis before we recommend anything. Call (855) 473-7282 for a free estimate. We answer 24/7. Fast dispatch from 7am to 7pm, Sunday through Friday.
Written by the team at Jasper Roof Repair.